Ol' Standby

Sunday, February 27, 2011

Ever have the days when you can't for the life of you figure out what to make so you reach way back in your mental recipe box? This is one of those recipes. Nothing particularly fancy, pretty sure I made it up in my head years ago...but it always satisfies. A lot of people call their chicken chili recipes "white" - not sure if it's because the meat and beans are white (like this one) or because I've actually seen recipes that call for alfredo sauce (ick!??)....so I'll just stick to calling it chicken chili!

Sara's Chicken Chili
Serves 4 (depending on appetites)

Ingredients:
6 boneless skinless chicken breast tenderloins, cut into bite sized pieces (could also use 2 breasts or 2 cups cubed cooked chicken)
1 anaheim chile, diced
1 small onion, diced
1 can diced fire-roasted tomatoes (don't drain)
1 can great northern beans, rinsed and drained
1 cup frozen corn
2 cups chicken broth
2 cups water
1 package chicken chili seasoning mix
Cayenne pepper to taste
Salt & Pepper to taste
1-2 tablespoons masa flour to achieve desired consistency
Garnishes (optional): shredded cheese, sour cream, green onions

Preparation:

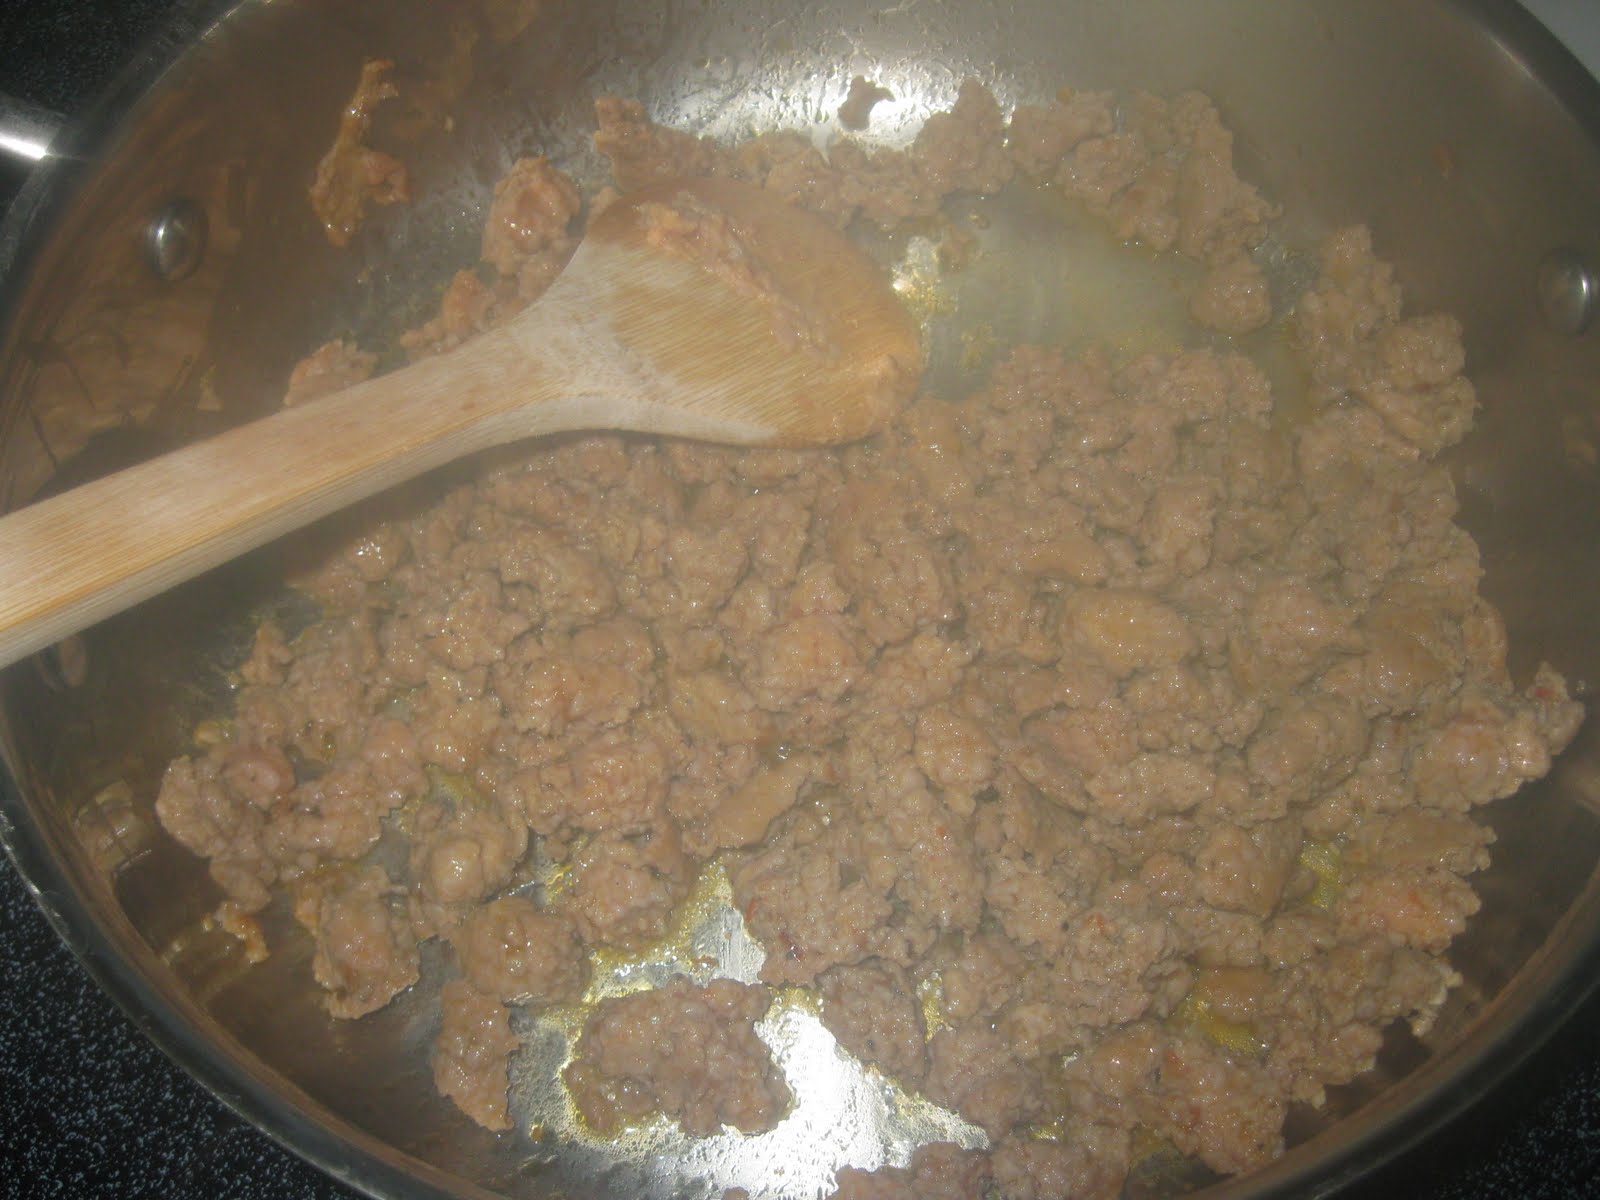
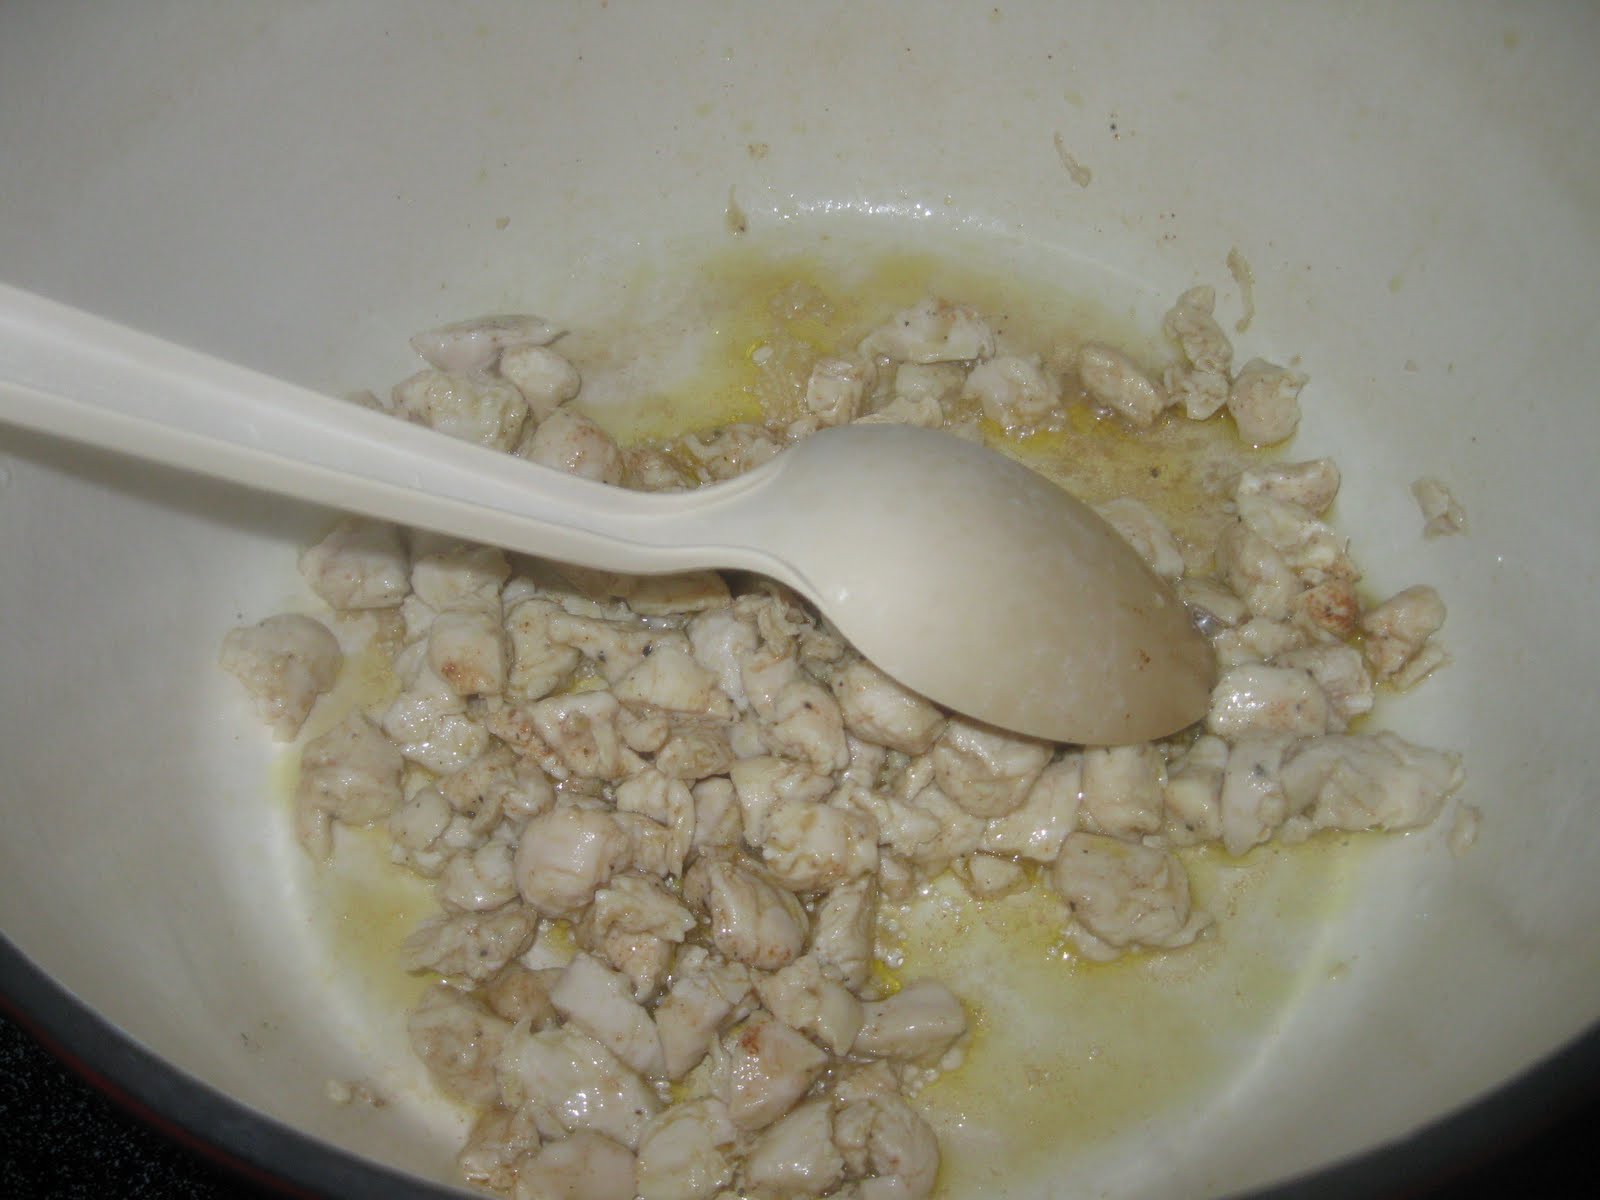
If using uncooked chicken, chop it into bite sized pieces and brown in your chili pot with olive oil.


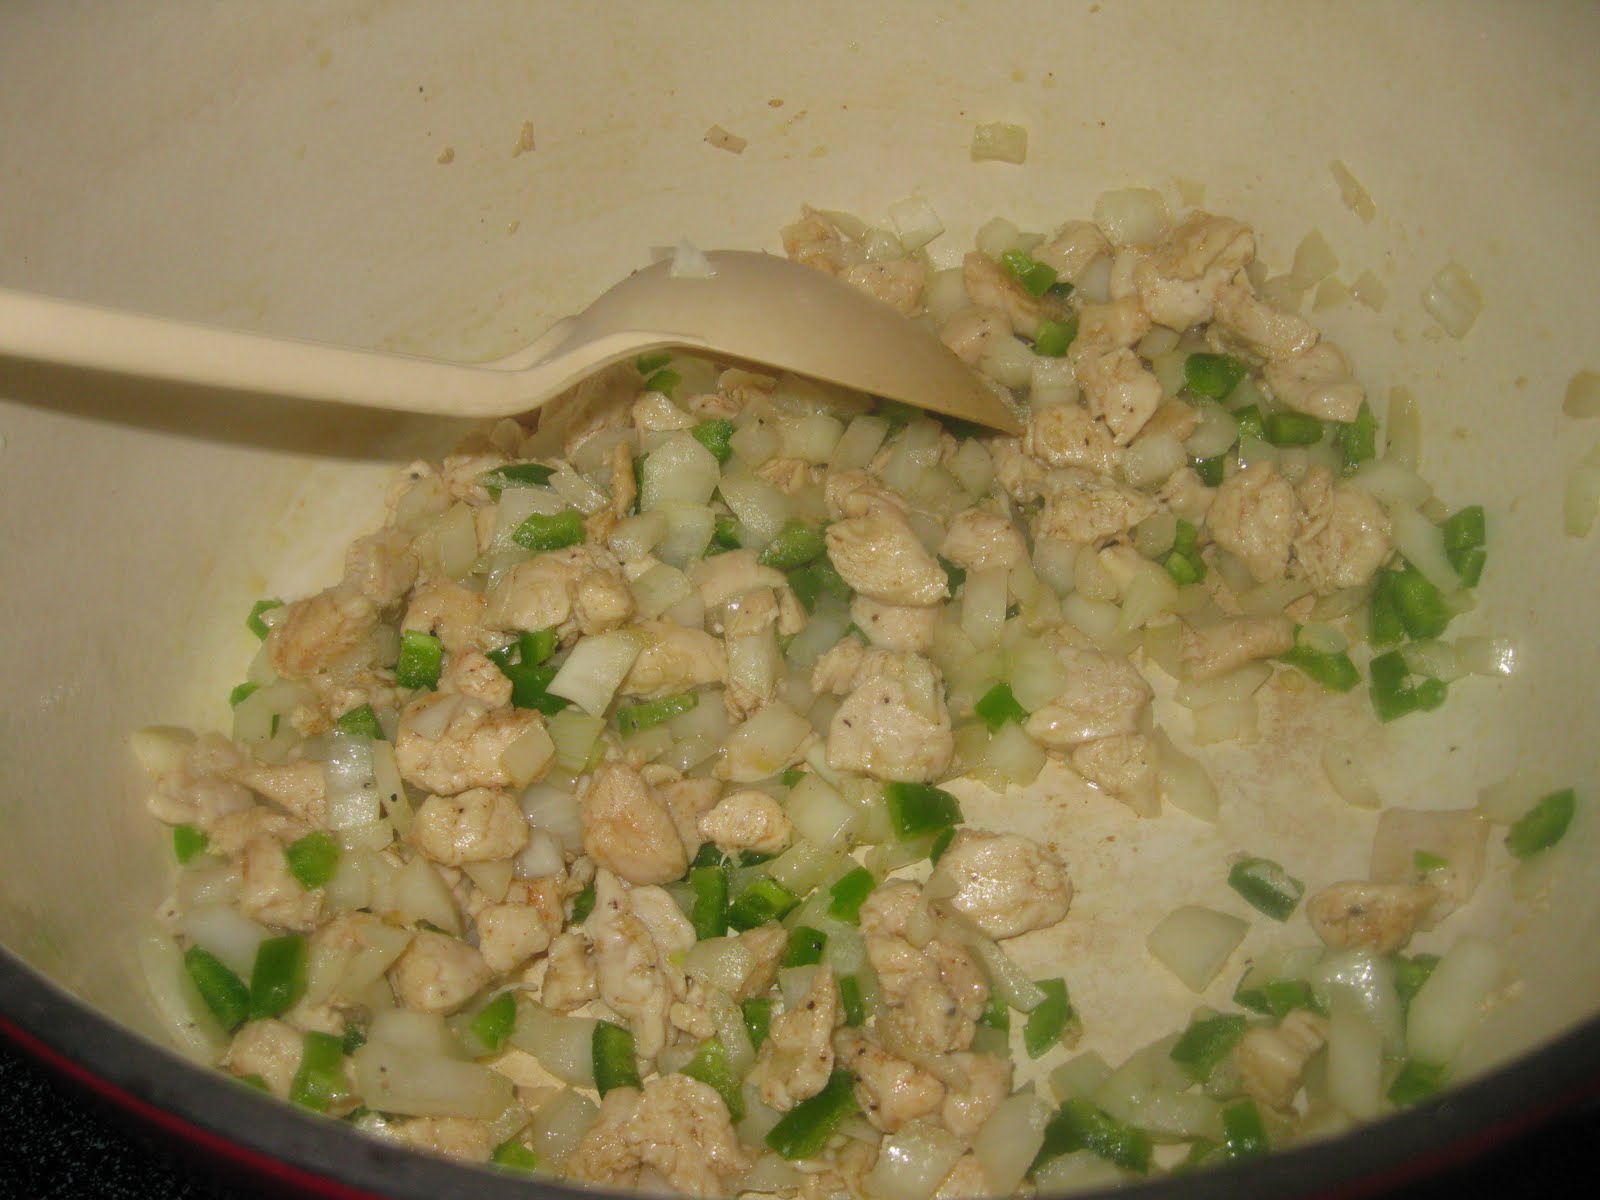
Once the chicken is cooked, add the onion and peppers, sauteeing for a few minutes or until the onion is translucent. Now's a good time to season with salt & pepper.


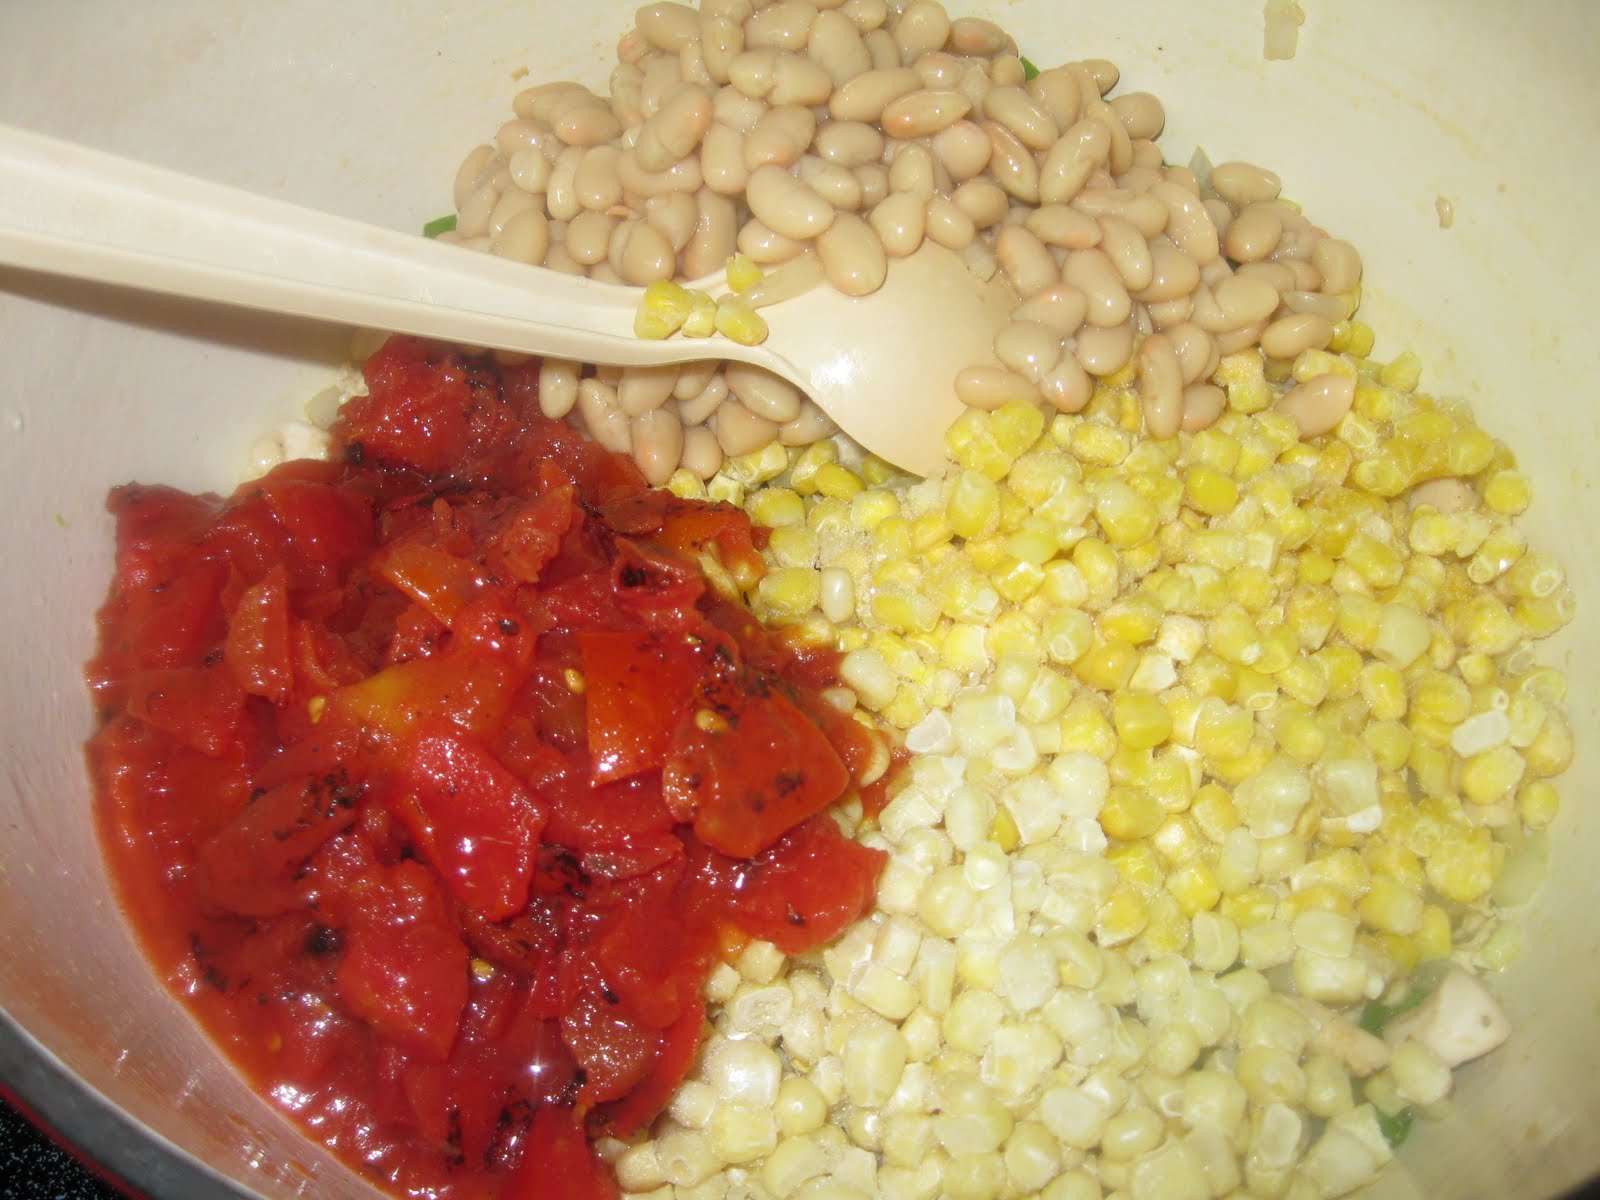
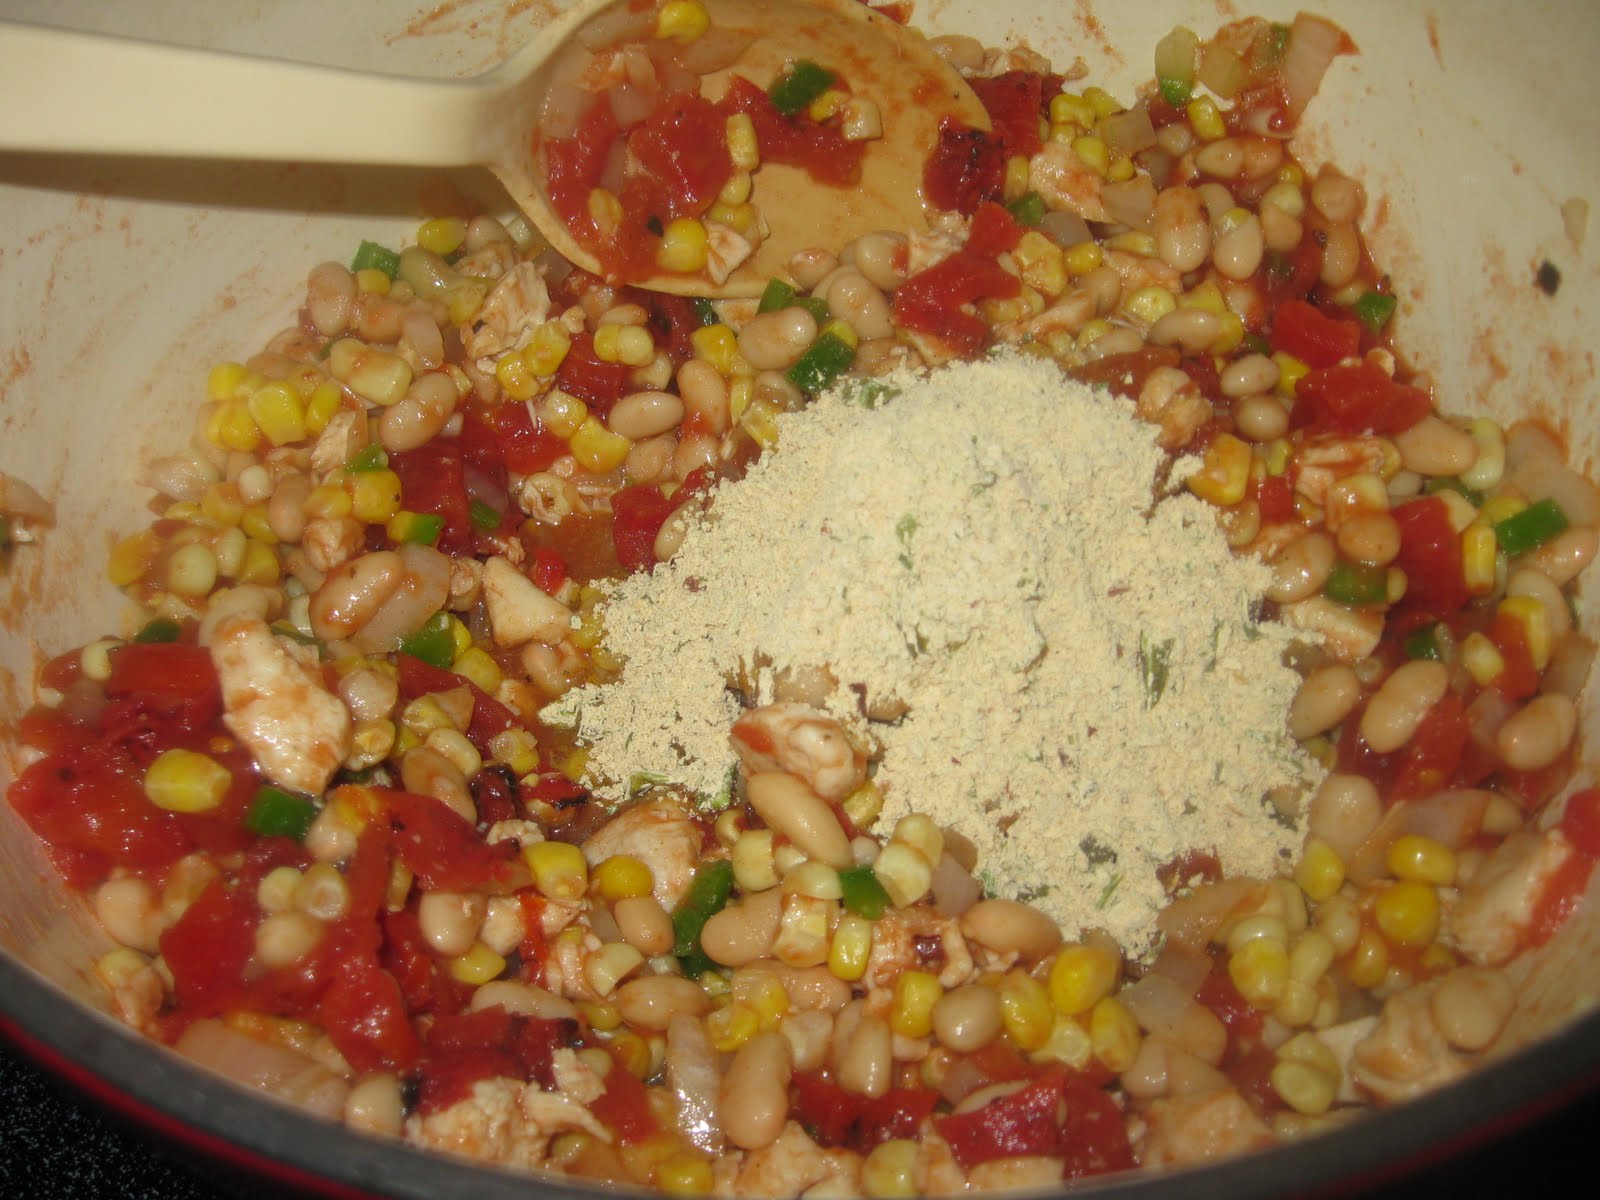
To the pot add the tomatoes, beans and corn.

Stir in the seasoning packet and the liquids. I use a mix of chicken broth and water but you could use all of one or the other. I like my chili to have a stronger presence of spice and tomatoes so I don't use all broth. I also like to add a pinch of cayenne (1/4 to 1/2 tsp).


Let this simmer to allow the flavors to develop and the chili to thicken a bit. I've found that most times I make chili I like the consistency to be a bit thicker, so towards the end, I stir in a tablespoon or so of masa flour, bringing it to a boil and then reducing to a simmer. This results in happy chili. (More salt & pepper to taste is a good idea, again!)


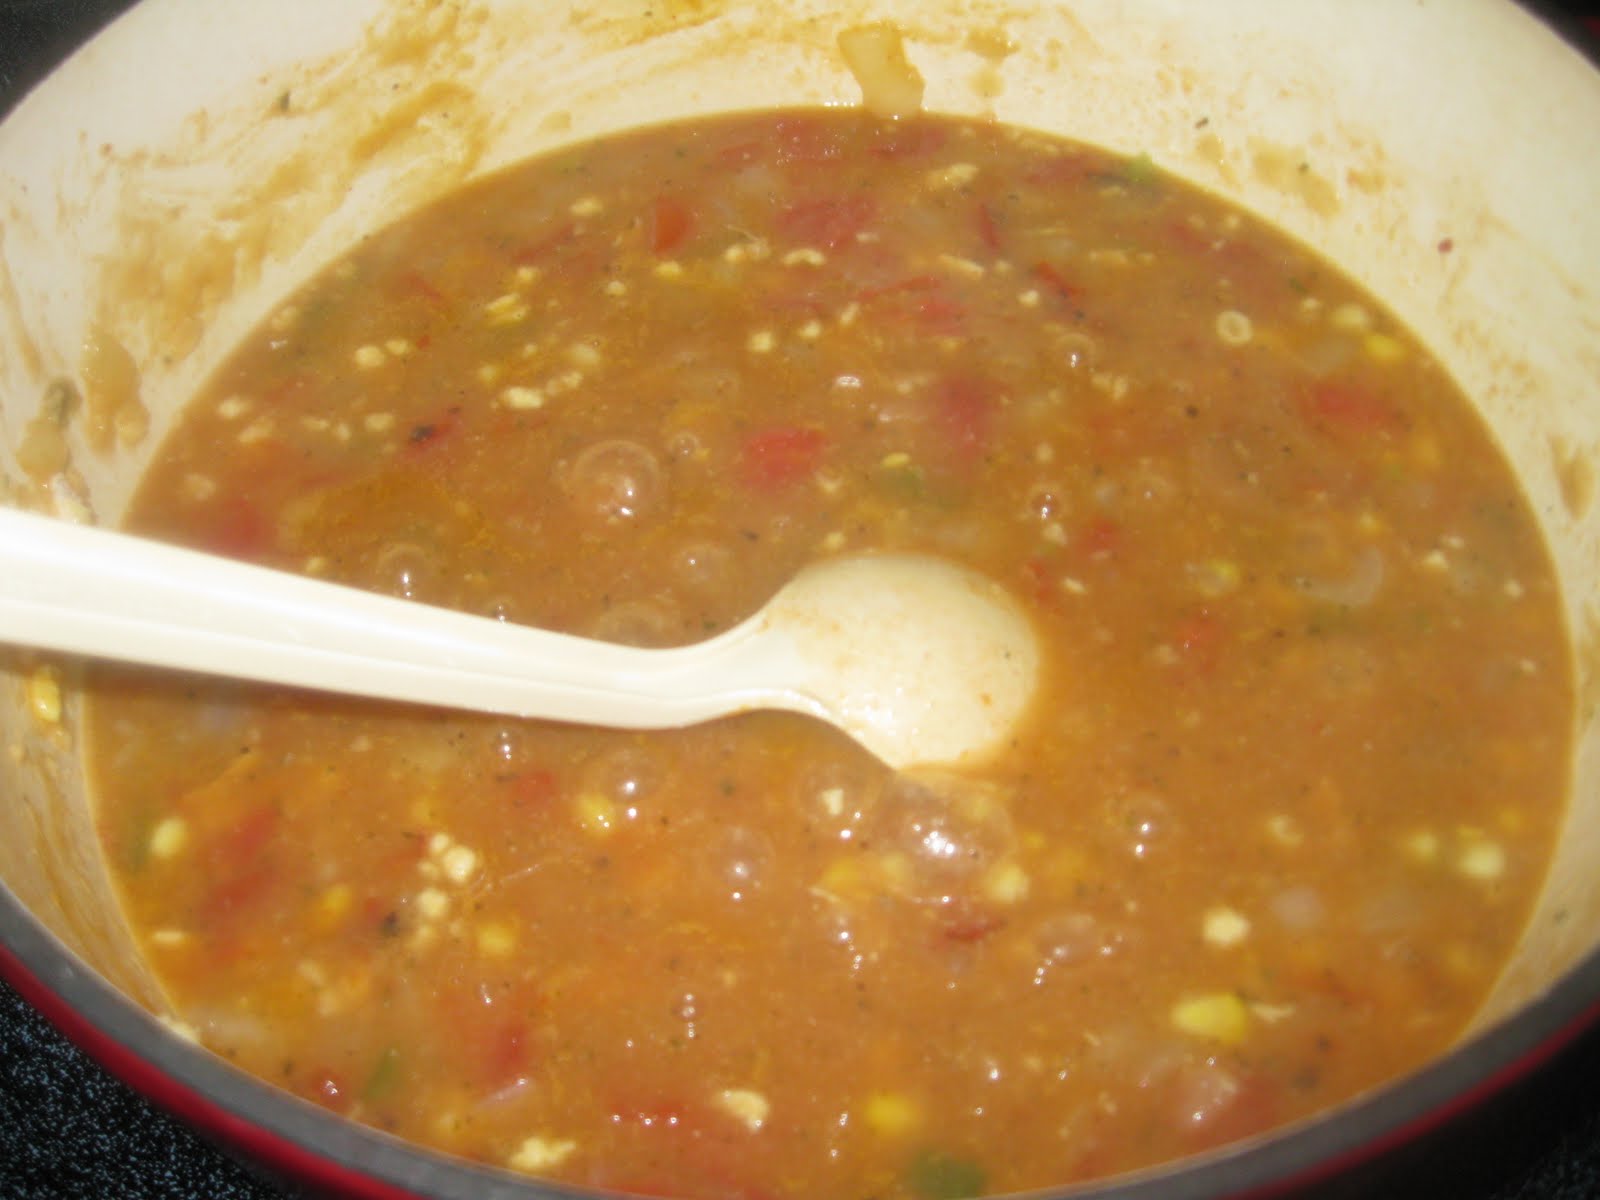
When you're happy with how it looks & tastes - or if you're like me and your stomach is telling you now's the time! - dish it up and top it with whatever suits your fancy.


Not too shabby for a throw-it-together meal.

Not Your (My?) Mama's Parm

I couldn't really tell you why I had never made chicken parmesan before now. My best guess is that my mom makes out of this world, everything from scratch veal parmesan that I know is a labor of love - so mentally, I always thought it was a huge investment of time. Then I was tipped off about this recipe for an oven-friend version of chicken parm that was supposedly easy and delicious. Game on.

Not-so-stressful Chicken Parm (adapted from Cooking Light, September 2009)
serves 2-3, adjust accordingly :)

Ingredients:

6 boneless skinless chicken breast tenderloins (note: this is what I buy in bulk at the store, chicken breast halves would work perfectly as well. I wouldn't do the whole thing because of cooking time issues)
1/4 cup flour
1/2 tsp dried oregano
Pinch of salt
2 slightly beaten egg whites
3/4 cup crushed panko breadcrumbs (they stick better if you smoosh them just a little)
2 tablespoons olive oil
1/2 cup pasta sauce (I like Classico Spicy Tomato-Basil)
1/2 cup shredded or shaved parmesan
1 cup shredded mozzarella

Preparation:

Preheat the oven to 450 degrees. Grab 3 dishes (I had 2 plates and a bowl) - one plate combine the flour, oregano and salt. In the bowl I put the 2 large egg whites. The last dish is for the panko breadcrumbs. Send your chicken through the assembly line...


Place the chicken into a hot oven-safe skillet with olive oil and brown on each side (about 2 minutes on each side).


Place the pan into the oven and bake for 5 minutes. Then take it out, flip the chicken over and top it with the sauce and both cheeses.


Stick it back into the oven for another 5-6 minutes or until your chicken is done.


Can you say carb-overload? I'd like to think I had this with a side salad or some other vegetable, but there's really no telling....


Not an all day investment of time but still pretty darn good!

New Kid on the Block

Monday, November 15, 2010

I will happily admit that I am a big nerd sometimes (...ok, most of the time). I mean, we are talking about a girl who gets really excited about research. And on frequent occasion, in the middle of an otherwise innocuous situation, random songs will pop into my head.

Like tonight, preparing dinner, when I had the sudden urge to belt out "Step by Step" by NKOTB.


Step one: We can have lots of fun
Step two: There's so much we can do
Step three: It's just you and me
Step four: I can give you more
Step five: Don't you know that the time has arrived
Huh!!

Don't judge...I grew up in the 80s.

So what's the point? Tonight's dinner was in fact incredibly simple - very few ingredients and ready really quickly. I suppose Step by Step isn't too obscure a choice, all things considered.

Sausage, Tomato and Arugula Pasta (Adapted from Cooking Light, Dec 2010)

Ingredients:

1 package refrigerated fresh fettuccine
Olive oil
3 links Italian turkey or chicken sausage
2 cloves fresh garlic, minced
1 pint grape tomatoes
Salt
Pepper
2-3 cups fresh arugula
Shaved Parmesan cheese

Preparation:

Step 1!! Start a pot of salted water boiling. While the water heats up, squeeze the sausage out of its casing into a olive oiled skillet over medium high heat.


Step 2!! Brown the sausage, stirring it and breaking it up frequently. Once it is browned, add in the garlic and saute for about a minute for the garlic to soften.


Step 3!! Turn the heat down to medium, toss in the grape tomatoes, cover the pan and wait for two minutes. Now's a good time to season with salt and pepper.


Step 4!! Remove the lid and use a wooden spoon or other utensil to smash the tomatoes. The littlest ones are squirmy and most resistant to smooshing. Give everything a stir and allow it to hang out for the 2-3 minutes it takes your pasta to boil. (Follow the instructions on the package for the pasta. You could definitely save $1 and use dry pasta but it'll take a little longer to cook and the texture of the fresh pasta is totally worth the extra dollar if ya ask me!)


Step 5!! Take the sausage and tomatoes off the heat. Stir in the cooked pasta, 2/3 of a cup of leftover pasta water (save it when you drain the pasta!), the arugula and about 1/3 cup of cheese. Toss well.


Huh!!! (I know, I know, I'm going overboard...) Anyway, dinner is served! As usual, sprinkle with extra cheese for additional enjoyment.


Between the quickness with which the recipe was ready, the absolute simplicity of the ingredient list and the fact that Jon took seconds - this is a welcome addition to our repertoire when we need to get dinner on the table fast!

And because I know you care, Jordan was my favorite.

Ina, the wise

Sunday, November 14, 2010

I'm not a huge Food Network person. Although I'm kinda obsessed with food, most of the "celebrities" are not my thing. I'd love to have the Cooking Channel (I think) but our cable bill is already unjustifiably high.

When it comes down to it, there is 1 chef/cook/whatever you wanna call them that I will make the time to watch when on the Food Network. Ina Garten. The Barefoot Contessa. Yes, she of "make sure you use a really good...." and measuring everything down to the salt and pepper lore.

Everything she makes looks delicious. It features the ingredients...it is simple but not elementary (I'm looking at you Sandra, Rachael and others); it is full flavor but not overboard (Paula!). I wish we could be buddies. I'd cruise around the Hamptons all day with her searching out the finest of cheeses and mingling with our fantastic floral designer buddies.

And Ina always says that a perfect roasted chicken is sometimes greater than any other dish. I agree. While I don't use her (or anyone else's) recipe, I do pay tribute to her in this dish. A $4 chicken that makes me lick my lips and reach for more!

Sara's Perfect Roast Chicken

Ingredients

~4 lb whole chicken
Fresh thyme
Fresh rosemary
Fresh parsley
6 tbsp unsalted butter
1 lemon
Salt
Pepper
4 cloves garlic
2-3 cups chicken broth


Preparation

The first step I took with this chicken is to create a compound butter. I've made it before with just olive oil or butter (and both are delicious) but I've been inspired to take an extra...and simple...step towards yumminess! Here's what to do: chop approximately 1 tablespoon each of flat leaf parsley, thyme and rosemary. Then grate the zest of 1 lemon. Combine these with 6 tablespoons of room temperature butter.


Scoop the butter mixture onto some plastic wrap, and roll into a log to be put into the refrigerator until it's time to take the chicken out.


Before you cook your chicken, you'll want to take it out about an hour before preparing. Let it come to about room temperature, rinse it under cool water (important note to people like my dad - there is absolutely no need to rinse other meat under water...in fact, you're just watering it down!)...sorry, tangent....then pat it dry with a kitchen towel or paper towel. Make sure you've got the neck or any other insides out of the chicken's cavity. You'll want to cook it so that the breasts are facing up, then tuck the wings back as though it is putting its "hands" behind its head. For the chicken's cavity you'll need....


The lemon you've zested, cut into quarters. 4 cloves of peeled garlic. 1 sprig of fresh rosemary. And 1-2 sprigs of fresh thyme.


Place the above into the chicken's center cavity. Then use your hands to get between the meat and skin of the breasts. Scoop up some compound butter and spread it between the meat and skin. Then spread some butter over the top of the exposed skin. After washing your hands thoroughly, make sure to top it all with a good coat of sea salt and freshly ground black pepper.

As you'll probably notice, we are not cool enough to own a roasting pan. Instead, we use a makeshift roaster with a rack sitting atop a deep-ish cookie sheet. Ya gotta do what ya gotta do. Anyway...no matter what your equipment, fill the bottom of your "roaster" with a few cups of chicken broth to ensure that everything stays juicy (and give your gravy a headstart).

Put your chicken into a 425 degree oven.


Our 4 pound bird cooked for 45 minutes. The important thing is that the meat reaches an internal temperature of 160 degrees and that the juices run clear after you poke it. Look at all that golden crispy skin.....yummmm.

I decided to make gravy from the drippings to go with my chicken and potatoes. I removed the rack and chicken to let it rest and allow the juices to settle and put the tray over a low burner. I added about 1/3 to 1/2 cup water combined with a few tablespoons of flour to the mixture of broth and drippings, whisking well.

See! That Ina, she's a smart cookie!

Worth the wait

As has been previously documented here, I am not a baker. While cooking generally calms me and excites me, baking usually stresses me out! Of course, there are occasions where I come across a recipe that so piques my interest that I throw caution to the wind and bake anyway!

This is one such recipe.

I assumed that making this cake would be the hard part - but as it turns out, the toughest task was getting my **** (censored for the kiddos) together to actually make it!

My first mistake was one I make too often - I was lazy in reading the ingredient list and didn't get enough almonds.

A week later when I got the time and courage up to give it another go, I realized that I had used up my fresh lemons during the week.

Then, my poor food processor got put onto injured reserve.

Thankfully for all of us, my handy husband was able to salvage the food processor and I finally had everything together to make the recipe. About a month or more after I had originally tried. Turns out it wasn't that difficult to put together and it was sooooo worth the wait!

Olive Oil and Grape Cake (adapted from Martha Stewart, November 2010)

Ingredients:

1 cup all purpose flour
2/3 to 3/4 cup almonds
1/4 quick cooking polenta
1 1/2 teaspoons baking powder
1/2 teaspoon salt
2 eggs
2/3 cup sugar
Zest of 1 lemon (approximately 2 tsp)
1/3 cup whole milk
2 cups red seedless grapes

Preparation

Preheat the oven to 350 degrees. This cake calls for an 8" x 8" square baking pan. To prep the pan, brush with olive oil and dust lightly with flour.

While you are assembling other ingredients, toast the almonds on a baking sheet for around 5 minutes. When they start to smell really almond-y they're ready to come out!


And because of the aforementioned food processor issue, I decided to give my almonds a head start with a rough chop...


*Cross your fingers*


Isn't my husband the best? Look at these beautiful finely ground toasted almonds!


Mix 1/2 cup of ground almonds with the polenta, flour, baking powder and salt.


In a large mixing bowl, combine the sugar, eggs and zest.


Beat on high until the mixture becomes pale in color and somewhat fluffy. If you don't have a stand mixer, a hand mixer would be perfectly fine!


Now, reduce the speed to low and slowly stream in the olive oil.


Now alternate small portions of the flour mixture and milk, keeping the mixer on low.


Ultimately you want to do 4 additions of flour mixture and 3 additions of milk, starting and ending with the flour.


Pour the cake mixture into your pan and spread half of the grapes across the top.


Bake for 15 minutes and it will look like this.


Take the partially baked cake out of the oven, and spread the rest of the grapes over the top.


Bake for an additional 25 to 27 minutes. The cake should be golden brown and allow a toothpick to come out cleanly. After allowing it to cool for 15 or 20 minutes, flip it out of the pan onto a plate.


I cut mine into squares but after trying a bite, I would have gladly taken this entire cake as my serving!

Seasoned with Sass Copyright © 2009 Designed by Ipietoon Blogger Template for Bie Blogger Template Vector by DaPino